Pin This
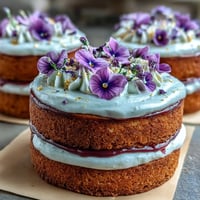
 The first time I encountered hojicha was at a tiny tea house in Kyoto where the proprietor insisted I try what she called her everyday comfort tea. The roasted, nutty aroma filled the small space and I found myself inhaling deeply before even taking a sip. That earthy, almost caramel-like flavor stayed with me long after I returned home, haunting my thoughts whenever I craved something warm and grounding. When I decided to experiment with baking hojicha into a cake, my roommate was skeptical about tea in dessert form. One slice later, she was asking when I could make it again.
I made this cake for my mothers birthday last autumn when she was visiting from out of town. Shes been baking traditional cakes for decades and I was nervous about serving her something so unconventional. She took her first bite, closed her eyes, and sat there silently for what felt like an eternity before opening them and declaring this was now her favorite cake. The way the house smelled while it was bakingthose warm, toasty notes filling every roommade the whole afternoon feel special before anyone even took a bite.
Ingredients
- Gluten-free all-purpose flour blend: This forms the structure of your cake. Ive found that blends containing rice flour and sorghum work best for achieving that tender crumb we want.
- Almond flour: Adds richness and helps keep the cake moist. The subtle nuttiness plays beautifully with the roasted hojicha.
- Hojicha powder: The star of the show. Invest in a good quality powder hereit makes all the difference in depth of flavor.
- Baking powder and baking soda: These work together to give your cake lift. Without eggs, we need that extra help for a light texture.
- Unsweetened almond milk and apple cider vinegar: When combined, they create a vegan buttermilk that adds tenderness and helps activate the leavening agents.
- Maple syrup: Sweetens while adding its own subtle caramel notes that complement the roasted tea.
- Coconut oil: Provides fat for moisture and richness. Make sure its melted but not hot when you add it to the mixture.
- Vanilla extract: Always use pure extract. It rounds out all the flavors and makes everything taste complete.
- Full-fat coconut milk: This is your frosting base. The overnight chilling step is non-negotiable for achieving that fluffy, spreadable consistency.
Tired of Takeout? 🥡
Get 10 meals you can make faster than delivery arrives. Seriously.
One email. No spam. Unsubscribe anytime.
Instructions
- Create your vegan buttermilk:
- Combine the almond milk and apple cider vinegar in a small bowl. Let it sit for about 5 minutes until you see it becoming slightly thick and curdled. This is working its magic to tenderize your cake.
- Whisk together your dry ingredients:
- In a large bowl, combine the gluten-free flour, almond flour, hojicha powder, baking powder, baking soda, and salt. Make sure everything is evenly distributedno one wants a bite of pure baking powder in their slice.
- Mix the wet ingredients:
- In another bowl, combine your vegan buttermilk, maple syrup, melted coconut oil, and vanilla extract. Whisk until everything is emulsified and smooth.
- Combine wet and dry:
- Pour the wet mixture into the dry ingredients and stir gently. Stop as soon as you no longer see dry flour. Overmixing gluten-free batters leads to tough, gummy cakes, and nobody wants that.
- Bake to perfection:
- Transfer your batter to the prepared pan and smooth the top. Bake for 30 to 35 minutes. Your kitchen will smell incredible. The cake is done when a toothpick inserted in the center comes out clean.
- Let it cool completely:
- Cool in the pan for 10 minutes, then turn out onto a wire rack. Do not even think about frosting this until its completely cool. Patience is not my strong suit either, but warm cake melts frosting into a sad puddle.
- Make the coconut frosting:
- Open that chilled can of coconut milk and scoop out only the solid white cream into a bowl. Save the liquid for smoothies. Beat with maple syrup and vanilla until light and fluffy, about 3 to 5 minutes.
- Frost and finish:
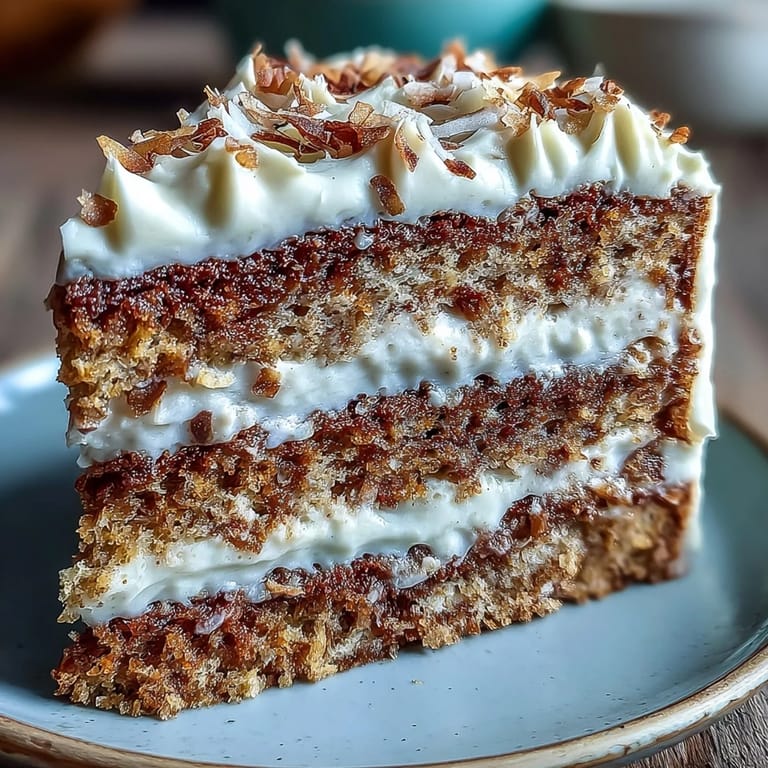
- Spread the frosting over your completely cooled cake. Dust with additional hojicha powder and scatter with toasted coconut flakes if you are feeling fancy. Slice and share with people you love.
 Pin This
 This cake has become my go-to for dinner parties because it always sparks conversation. People are intrigued by the concept of tea in cake form, and watching their faces light up with that first taste never gets old. Last month, a friend who usually declines dessert went back for seconds and asked to take the last slice home. Thats when you know a recipe is a keeper.
Making It Your Own
Ive discovered that swapping half the maple syrup for coconut sugar creates an even deeper caramel flavor that pairs beautifully with the hojicha. Just remember that coconut sugar can make your cake slightly darker, so do not be alarmed by the color. You could also add a pinch of cinnamon or cardamom to the dry ingredients for warming spice notes.
Storage Secrets
This cake actually tastes better on day two. The flavors have time to meld and settle into each other, creating this incredibly nuanced taste experience. Store it in the refrigerator, but let slices come to room temperature before serving. The frosting firms up when cold but becomes perfectly creamy and spreadable again at room temperature.
Serving Suggestions
A slice of this cake alongside a cup of plain hot hojicha tea creates the most lovely flavor echo effect. The tea in the cake gets highlighted by the tea in your cup. I also love serving it after a light, fresh meal like a big green salad with citrus dressing. The contrast between something refreshing and something rich and comforting feels just right.
- Try a light drizzle of melted coconut milk over each slice just before serving for extra creaminess
- A pinch of flaky sea salt on top of the frosting cuts through the sweetness beautifully
- If serving for a special occasion, layer it with fresh persimmon slices in season for stunning color
 Pin This
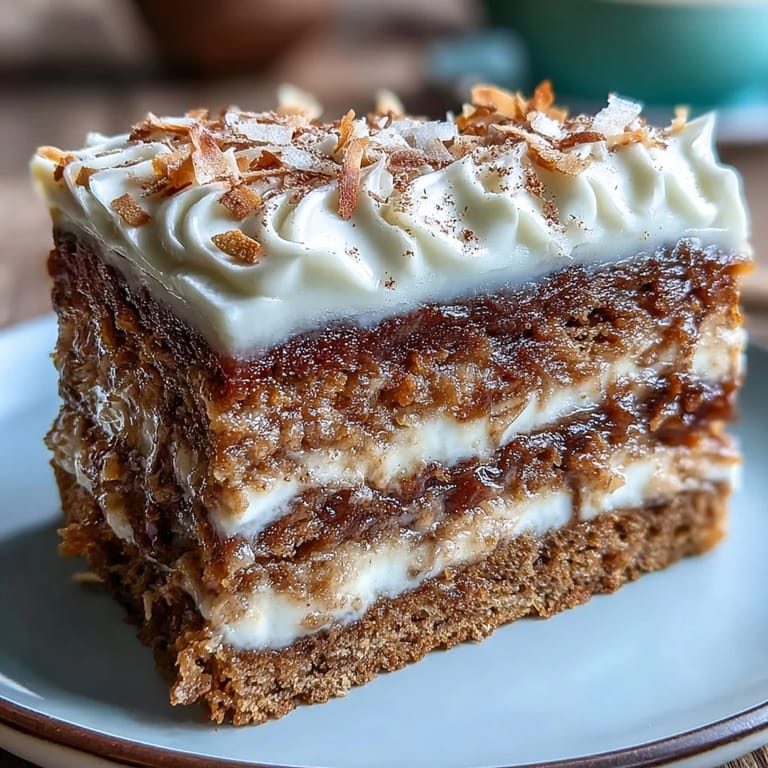
 Theres something deeply satisfying about serving a dessert that feels indulgent while being entirely plant-based. This cake proves that conscious eating does not mean sacrificing comfort or sophistication. Every time I serve it, I am reminded that the best recipes are the ones that bring people together around the table.
Recipe FAQ
- → What does hojicha taste like?
Hojicha offers a warm, earthy flavor with roasted notes similar to coffee but without the bitterness. It has a naturally sweet, nutty profile that complements the creamy coconut frosting beautifully.
- → Can I make this without almond flour?
You can substitute additional gluten-free flour blend for the almond flour, though the texture may be slightly denser. For a nut-free option, ensure your gluten-free flour blend is also nut-free.
- → How should I store this cake?
Keep refrigerated in an airtight container for up to 3 days. The coconut frosting stays stable when chilled but becomes soft at room temperature, so serve chilled or shortly after removing from the refrigerator.
- → Can I use regular flour instead?
Yes, substitute an equal amount of all-purpose wheat flour for the gluten-free blend. The texture will be slightly different but still delicious.
- → Why must the coconut milk be refrigerated overnight?
Chilling separates the solid cream from the liquid. You only use the thick cream portion to create fluffy, stable frosting—the liquid portion won't whip properly.
- → Is hojicha the same as matcha?
No—hojicha is roasted green tea with a brownish color and earthy flavor, while matcha is powdered shade-grown green tea with a vibrant green color and grassy taste.