 Pin This
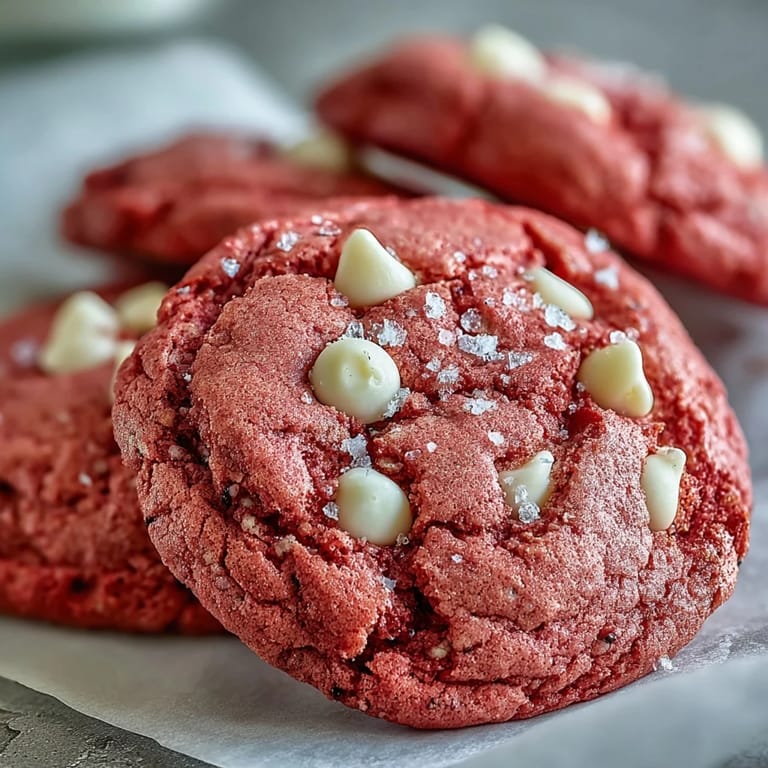
 My kitchen smelled like a bakery had moved in the day I decided to surprise my daughter with something bright and fun. She'd been asking for pink everything, and I thought cookies would be the perfect answer. I grabbed the gel food coloring from the back of the pantry, the one I'd bought for a birthday cake months ago, and got to work. The dough turned this gorgeous rosy shade that made me smile even before I tasted them.
I brought a batch to a friend's baby shower, and they disappeared so fast I barely got one myself. Everyone kept asking if they were strawberry or raspberry flavored, but nope, just vanilla with a pop of pink. One guest told me she hadn't seen cookies this cheerful since she was a kid. That made my whole week.
Ingredients
- All-purpose flour: This is your structure, the backbone that holds everything together without making the cookies dense or tough.
- Baking powder and baking soda: The duo that gives you that perfect puff and chew, working together to create just the right texture.
- Salt: Don't skip it, even a little bit balances the sweetness and makes the vanilla sing.
- Unsalted butter: Softened to room temperature, it creams beautifully with the sugar and keeps the cookies tender.
- Granulated sugar: It sweetens and helps create those slightly crisp edges I love so much.
- Egg: Binds everything and adds moisture, making sure each bite is soft and rich.
- Vanilla extract: Pure vanilla is worth it here, it adds warmth and depth you can actually taste.
- Pink gel food coloring: Gel is key because it won't thin out your dough, and you control exactly how vibrant you want them.
- White chocolate chips: They melt into creamy little pockets and contrast beautifully with the pink.
Tired of Takeout? 🥡
Get 10 meals you can make faster than delivery arrives. Seriously.
One email. No spam. Unsubscribe anytime.
Instructions
- Mix the Dry Team:
- Whisk the flour, baking powder, baking soda, and salt in a medium bowl until everything is evenly distributed. Set it aside while you work on the butter and sugar.
- Cream the Butter and Sugar:
- Beat the softened butter and sugar together for a good 2 to 3 minutes until it looks pale and fluffy, like soft clouds. This step adds air and makes your cookies tender.
- Add Egg and Flavor:
- Beat in the egg and vanilla until smooth, then add your pink gel food coloring. Mix until the color is even and vibrant, adjusting if you want it darker or lighter.
- Combine Wet and Dry:
- Gradually add your flour mixture to the butter mixture on low speed, mixing just until no streaks remain. Overmixing makes cookies tough, so stop as soon as it comes together.
- Fold in the Chocolate:
- Use a spatula to gently fold in the white chocolate chips, making sure they're scattered throughout the dough. This keeps them from sinking or clumping.
- Chill the Dough:
- Cover the bowl with plastic wrap and pop it in the fridge for 30 minutes. Chilling helps the cookies keep their shape and prevents them from spreading too thin.
- Prep for Baking:
- Preheat your oven to 350°F and line two baking sheets with parchment paper. This keeps cleanup easy and prevents sticking.
- Scoop and Space:
- Use a cookie scoop or tablespoon to portion out dough balls, placing them about 2 inches apart on the sheets. They'll spread a little, so give them room.
- Bake to Perfection:
- Bake for 10 to 12 minutes until the edges look set but the centers still seem a bit soft. They may look underdone, but trust me, they firm up as they cool.
- Cool and Enjoy:
- Let the cookies rest on the baking sheet for 5 minutes, then move them to a wire rack. This step keeps them from breaking and lets them finish setting.
 Pin This
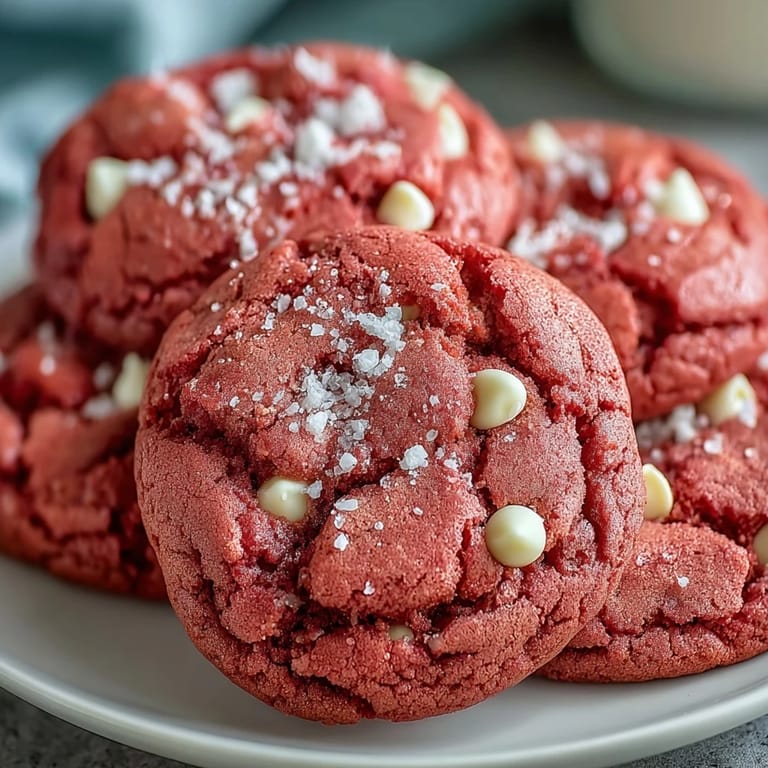
 I'll never forget the look on my daughter's face when she saw the pink cookies cooling on the counter. She grabbed one before they were even fully cooled and declared them the best thing I'd ever made. It's funny how something so simple can feel like such a win.
Making Them Your Own
I've added almond extract a few times when I wanted something a little more sophisticated, just half a teaspoon changes everything. A friend of mine swears by adding a few drops of rose water for her bridal showers. You can also press extra white chocolate chips on top right before baking for a bakery-style look that makes people think you spent way more time than you did.
Storage and Freshness
These cookies stay soft in an airtight container for up to a week, though they've never lasted that long in my house. I've also frozen the dough in pre-scooped balls, then baked them straight from the freezer by adding an extra minute or two. It's a lifesaver when you need fresh cookies in a hurry.
Serving Ideas
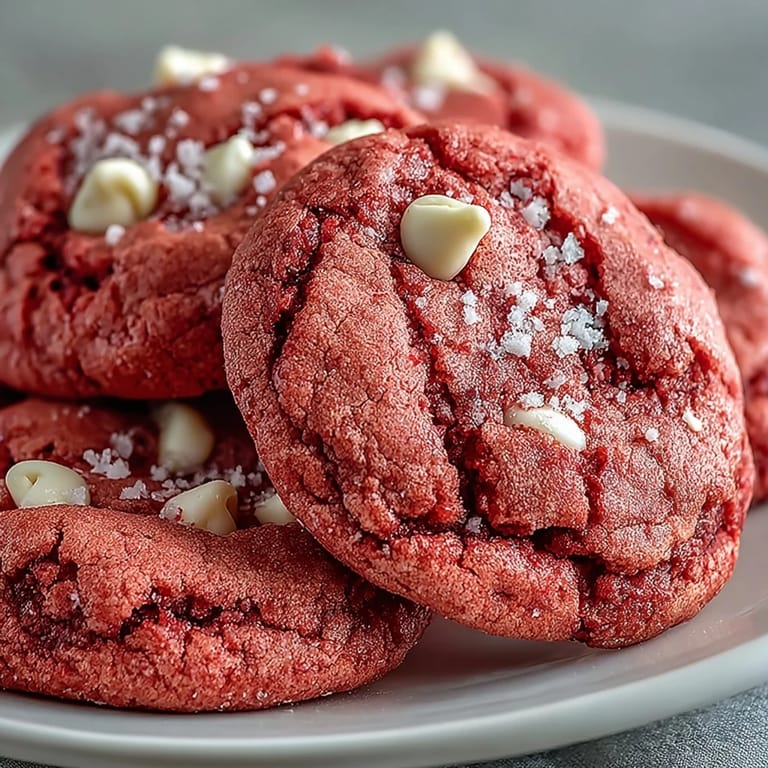
I've turned these into cookie sandwiches with cream cheese frosting in the middle, and they were an instant hit at a potluck. They're also perfect for Valentine's Day, baby showers, or any time you want something cheerful on the table. Stack them on a pretty plate, and people will think you went to a fancy bakery.
- Serve with cold milk or a mug of hot cocoa for the ultimate treat.
- Pack them in clear bags tied with ribbon for easy homemade gifts.
- Pair with fresh strawberries or raspberries to play up the pink theme.
 Pin This
 These cookies have become my go-to when I need something fun and delicious without a lot of fuss. I hope they bring as much joy to your kitchen as they have to mine.
Recipe FAQ
- → Why chill the cookie dough?
Chilling prevents excessive spreading during baking, helping cookies maintain their shape and thickness. The 30-minute rest time also allows flavors to meld while making the dough easier to scoop and handle.
- → Can I use liquid food coloring instead of gel?
Liquid food coloring works but may slightly alter the dough consistency. Start with a few drops and add more gradually. Gel coloring provides more intense color without affecting the dough texture or moisture content.
- → How do I know when cookies are done?
The edges should appear set while centers remain slightly soft and underbaked. This ensures a chewy texture after cooling, as cookies continue firming up on the baking sheet during the 5-minute rest period.
- → Can I freeze the dough or baked cookies?
Yes, scoop dough balls and freeze on a baking sheet before transferring to a freezer bag. Bake from frozen, adding 1-2 minutes to baking time. Baked cookies freeze well for up to 3 months when stored in freezer-safe containers.
- → What creates the velvet texture?
The combination of creamed butter and sugar creates a tender crumb, while proper mixing techniques prevent overdeveloping gluten. The balance of flour, leavening agents, and chilling time yields soft, chewy cookies with a velvet-like mouthfeel.
- → Can I make these without white chocolate?
Substitute semi-sweet chocolate chips, dark chocolate chunks, or even sprinkles for a funfetti variation. The pink color pairs beautifully with various mix-ins, allowing customization based on preference.