 Pin This
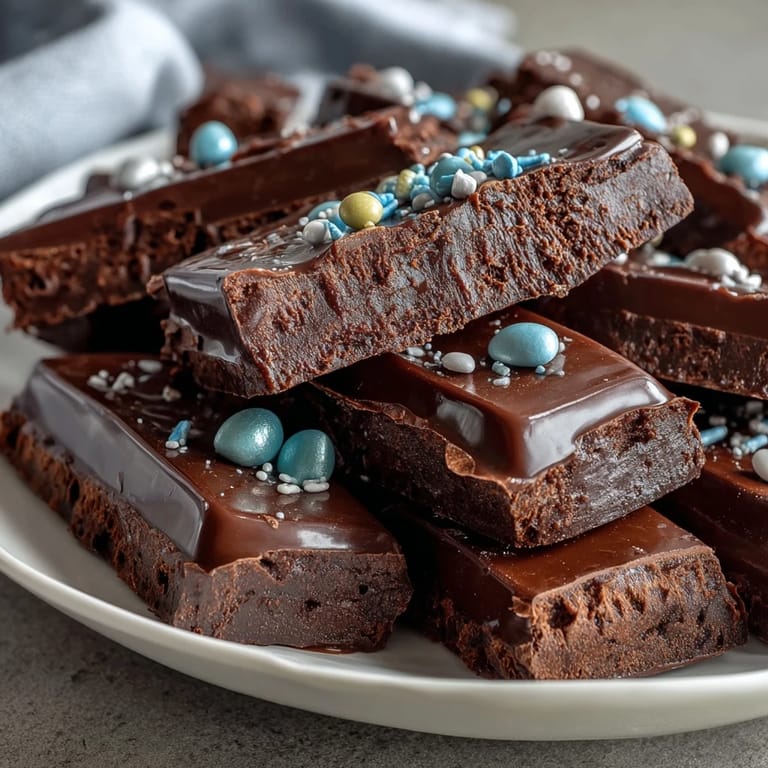
 My neighbor knocked on the door holding a plate of the most cheerful chocolate bark I'd ever seen—pastel swirls of pink, yellow, and blue studded with candy-coated treasures. She'd made it for Easter brunch, and watching everyone at the table light up when they bit into those hidden Cadbury egg pieces made me realize this wasn't just a dessert; it was edible joy. That afternoon, I couldn't stop thinking about how simple it seemed, yet how festive and impressive it looked. I had to make my own version, and now it's become my go-to whenever I need something that feels both celebratory and surprisingly easy.
I made this for the first time on a random Tuesday in March, not even waiting for Easter, because I had a craving for something sweet and colorful. My daughter came home from school, dropped her backpack, and before saying hello, asked what that pretty chocolate thing was on the counter. By the time I'd finished explaining, she'd already broken off a piece and was grinning with that look kids get when they've discovered something delicious. That simple moment—her genuine excitement over something I'd made in just thirty minutes—reminded me why baking doesn't always have to be complicated to feel special.
Ingredients
- White chocolate (300 g, chopped or chips): This is your blank canvas, and honestly, the quality matters here because it's the main flavor. Chip form melts more evenly than chopped pieces, so grab those if your store has them.
- Pastel-colored candy melts (50 g total in pink, yellow, blue, purple): These melt like a dream and give you those gorgeous swirled effects without any fuss; just grab what your local store has in seasonal sections.
- Mini Cadbury eggs (120 g, roughly chopped): Don't chop them too fine or they'll disappear into the chocolate; aim for uneven pieces so some chunks stay visible and surprise you.
- Pastel-colored sprinkles (2 tbsp): These go on while everything's still soft, so they stick without needing any extra help.
- Mini marshmallows (30 g, optional): They add a nostalgic texture and stay puffy even after the chocolate sets, giving you those pockets of softness.
Tired of Takeout? 🥡
Get 10 meals you can make faster than delivery arrives. Seriously.
One email. No spam. Unsubscribe anytime.
Instructions
- Set up your canvas:
- Line your baking sheet with parchment paper and clear a spot in your fridge so you're not fumbling around later. Having everything ready means you can work quickly once the chocolate hits the pan.
- Melt the white chocolate gently:
- Use 30-second bursts in the microwave and stir between each one; this keeps it from overheating and getting grainy. You'll know it's ready when it's smooth and pourable but not scalding hot.
- Prepare your pastel colors:
- Melt each candy melt color in its own small bowl following the package instructions, which usually means short microwave bursts too. Keep them separate so the colors stay vibrant and distinct.
- Spread the base layer:
- Pour the white chocolate onto your parchment and use a spatula to spread it into a rough rectangle about half an inch thick. Don't stress about making it perfectly even; the rustic look is part of the charm.
- Create the marbled magic:
- Drizzle each pastel color in random swoops across the white chocolate, then grab a toothpick or skewer and gently drag it through the colors to swirl them together. The key word is gentle—you want pretty swirls, not a muddy mess.
- Add the good stuff while it's warm:
- Scatter your chopped Cadbury eggs, sprinkles, and marshmallows over the top immediately while the chocolate is still soft enough to hold them. Press gently so everything nestles in and stays put once it hardens.
- Let time do the work:
- Pop it in the fridge for at least thirty minutes until everything is completely set and firm to the touch. You can break it into pieces as soon as it's cold, or wait until it's fully hardened for cleaner breaks.
 Pin This
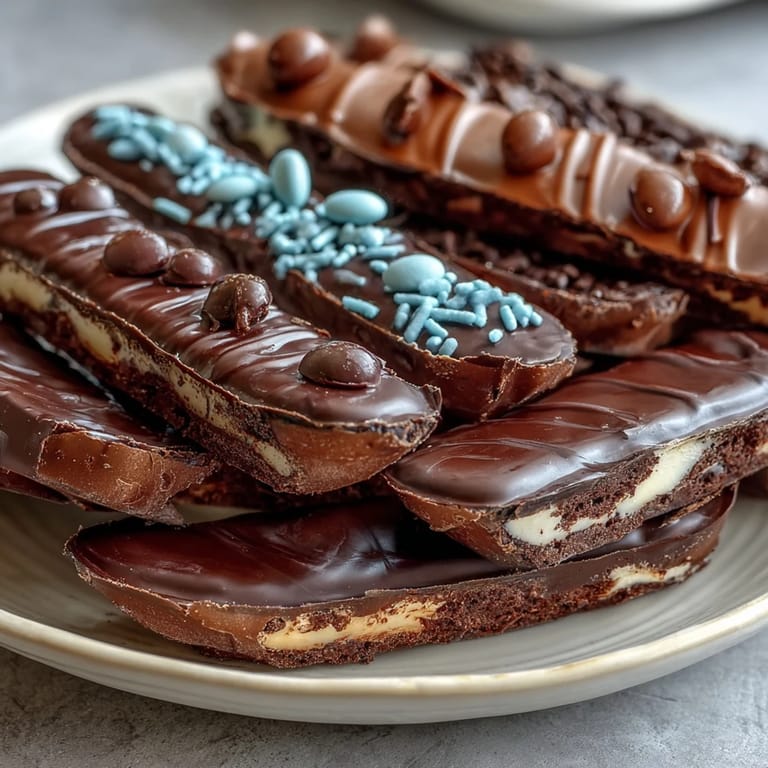
 I've learned that chocolate bark is one of those recipes that bonds people together in the best way. My mom started making this during the pandemic when we were all stressed about everything, and now it's become our little Easter tradition even though we make it year-round. There's something about sharing homemade candy that feels more genuine than store-bought, especially when you can tell someone you made it yourself in less time than it takes to watch a sitcom.
The Secret to Perfect Swirls
The marble effect everyone loves isn't actually about being a decorating expert; it's about moving your toothpick in one smooth direction without overthinking it. I used to drag mine back and forth like I was erasing, which just muddied the colors together into brown. One time, a friend watched me and simply said, try drawing lines instead of scribbling, and suddenly it clicked. Now I do gentle, purposeful drags, and the colors actually stay distinct and pretty.
Why Cadbury Eggs Are Worth It
You could use any chocolate candy here, but those mini Cadbury eggs are special because they have that runny fondant center that creates little pockets of surprise when they get chopped up and mixed into the bark. The waxy shell of the candy keeps its shape even when surrounded by melted chocolate, so you get these distinct flavor bursts instead of everything blending together. Plus, they're only around during Easter season, which makes using them feel intentional and celebratory rather than just throwing in whatever candy is on hand.
Storage and Serving Tips
This bark keeps beautifully in the fridge for up to two weeks if you store it in an airtight container with parchment between the layers. I've found that chocolate bark actually gets better after a day or two because the flavors mellow and develop, and the texture becomes even more satisfying. If your kitchen is warm, keep it in the fridge even when serving because it can get soft on the counter.
- Break pieces by hand for rustic, uneven sizes that look homemade and inviting.
- Wrap individual pieces in small squares of parchment or cellophane if you're giving them as gifts.
- Serve chilled straight from the fridge for the most satisfying snap and texture.
 Pin This
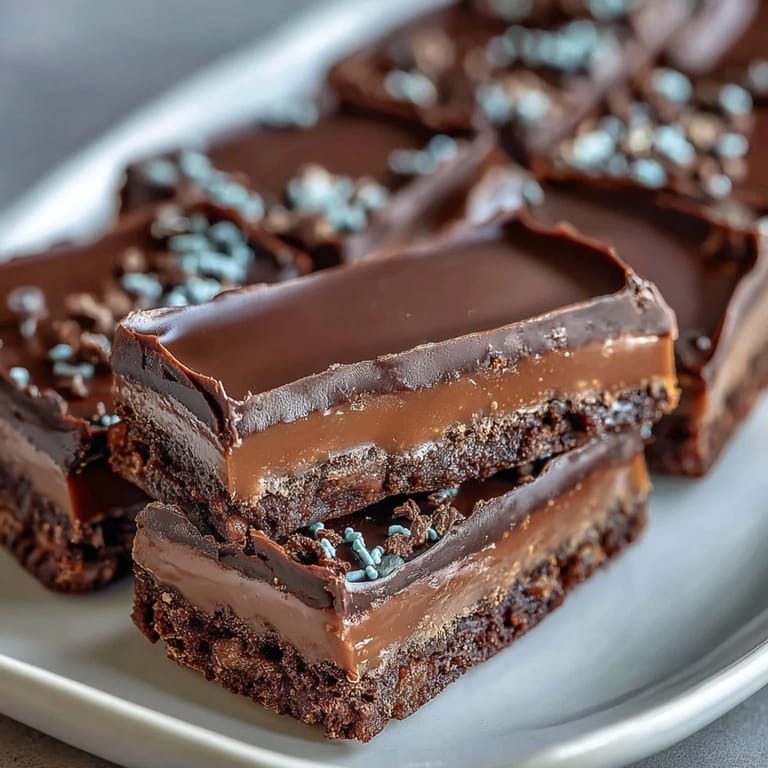
 This recipe proves that some of the best treats don't require complicated techniques or rare ingredients, just a little creativity and five minutes of your time. Every time I make a batch, it reminds me that food doesn't have to be fussy to feel special, especially when it brings smiles to the people around you.
Recipe FAQ
- → Can I substitute the white chocolate with another type?
Yes, dark or milk chocolate can be used for a richer or different flavor profile while maintaining the bark’s structure.
- → How long does it take for the bark to fully set?
Chilling in the refrigerator for at least 30 minutes allows the chocolate and toppings to firm up properly.
- → Can I add nuts to this bark?
Absolutely, chopped pistachios, almonds, or other nuts add extra crunch and complement the sweetness well.
- → What tools are needed to prepare this chocolate bark?
You’ll need a baking sheet, parchment paper, microwave-safe bowls, a spatula, toothpicks or skewers for swirling, and a sharp knife for cutting.
- → What’s the best way to store leftover bark?
Store it in an airtight container in the refrigerator to maintain freshness for up to two weeks.
- → Are there any allergen concerns with this treat?
This contains milk, soy, and eggs, and may have traces of nuts and gluten depending on candy brands. Always check labels.