 Pin This
 The first time I made brownies from scratch, I wasn't trying to impress anyone—I just wanted chocolate in my mouth before dinner was even finished. My kitchen filled with that unmistakable smell of melting cocoa and butter, and I knew within minutes that I'd stumbled onto something worth repeating. Years later, I still make these the same way, and they've become the kind of dessert that disappears fastest at potlucks and stays longest in people's memories.
I'll never forget the afternoon my neighbor knocked on the door because she smelled brownies baking and couldn't resist asking for a sample. She ended up staying for coffee, and we split a warm square right out of the pan, letting the chocolate melt slowly on our tongues. That's when I realized these brownies weren't just dessert—they were an invitation to slow down.
Ingredients
- Semi-sweet chocolate, 170 g chopped: This is where the magic starts—quality chocolate makes all the difference, so buy something you'd actually eat on its own.
- Unsalted butter, 115 g: The butter carries the chocolate flavor, so don't skip it or swap it out; use real butter every time.
- Granulated sugar, 200 g: This creates structure and that signature crackly top as the brownies bake.
- Light brown sugar, 50 g packed: It adds moisture and a subtle molasses depth that keeps these from tasting one-dimensional.
- Large eggs, 2: They bind everything together and create that fudgy crumb, so use room-temperature eggs if you can.
- Vanilla extract, 1 tsp: A small amount rounds out the chocolate flavor without making the brownies taste like vanilla cake.
- All-purpose flour, 80 g: Don't sift before measuring or you'll end up with dense, heavy brownies; spoon and level for the right amount.
- Unsweetened cocoa powder, 30 g: This intensifies the chocolate flavor in a way that pure chocolate alone can't, giving you that deep, complex taste.
- Salt, 1/4 tsp: It's just enough to balance the sweetness and make the chocolate sing.
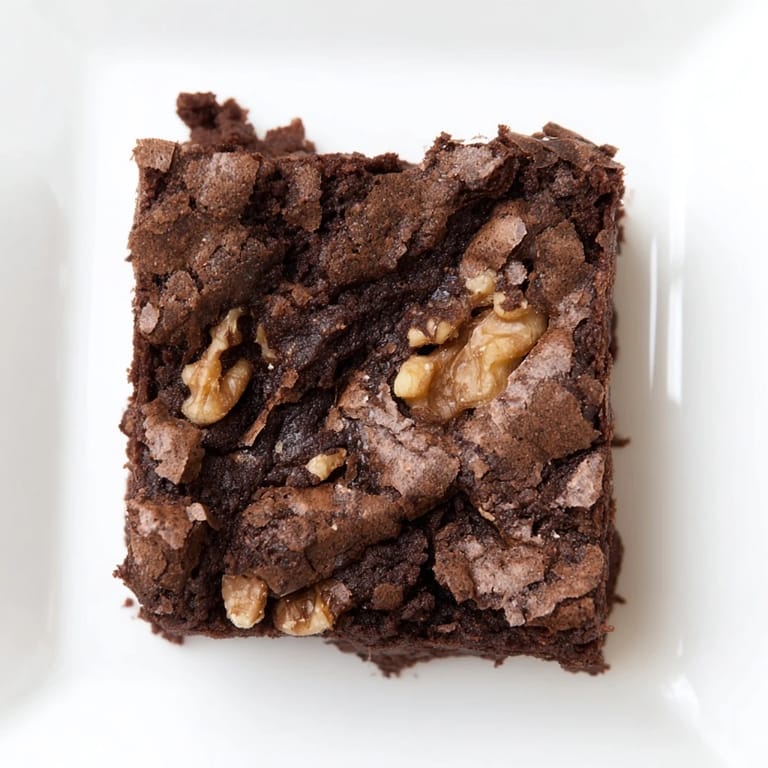
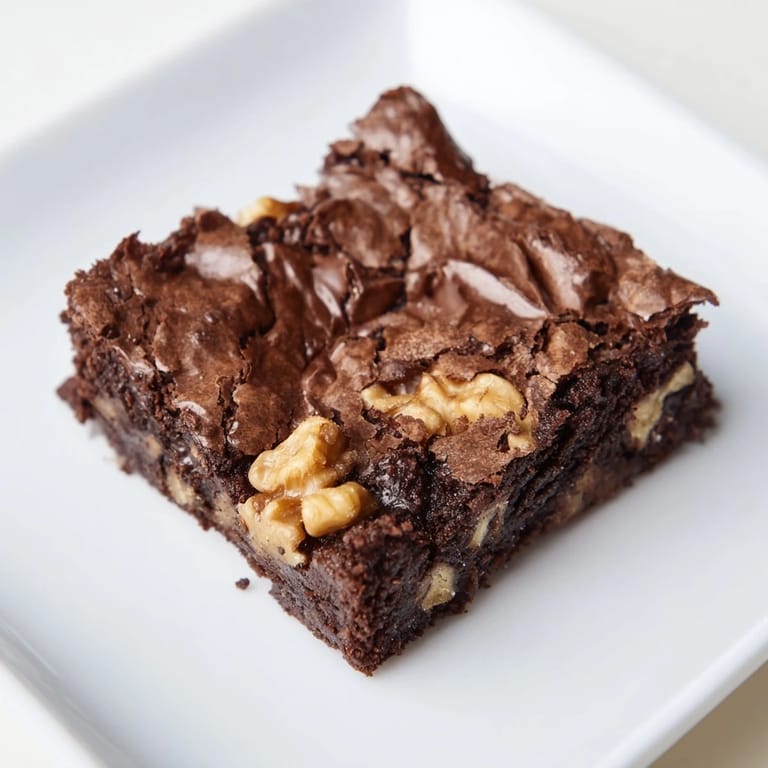
- Chopped walnuts or pecans, 100 g optional: If you add nuts, toast them lightly first so they contribute real flavor instead of just texture.
- Chocolate chips, 100 g optional: Extra chocolate chips are never wrong, but they're truly optional—these brownies are already plenty chocolatey.
Tired of Takeout? 🥡
Get 10 meals you can make faster than delivery arrives. Seriously.
One email. No spam. Unsubscribe anytime.
Instructions
- Heat and melt:
- Preheat your oven to 175°C (350°F) and line your baking pan with parchment, leaving a little overhang on two sides so you can lift the whole thing out later. Melt the butter and chopped chocolate together over low heat, stirring gently until there are no streaks—the moment it's smooth, take it off the heat and let it cool for a minute or two so you don't scramble the eggs.
- Mix in the sweetness:
- Stir in both sugars until they dissolve into the warm chocolate, then add your eggs one at a time, stirring well after each one goes in so everything combines evenly. Add the vanilla and mix until it's all one beautiful, shiny mixture.
- Fold in the dry ingredients:
- Sift the flour, cocoa powder, and salt together, then fold it into the chocolate mixture using a spatula or whisk—the key word here is fold, not stir, because you want to keep the batter light and airy. Overmixing at this point turns brownies dense and cake-like, and that's not what we're going for.
- Add your extras:
- If you're using nuts or chocolate chips, fold them in gently right now, distributing them so every piece gets a little something special.
- Bake until just right:
- Pour the batter into your parchment-lined pan, smooth the top with a spatula, and slide it into the oven for 22 to 28 minutes. The brownies are done when a toothpick poked into the center comes out with a few moist crumbs still clinging to it—not fudgy batter, but not completely clean either.
- Cool and cut:
- Let them cool completely in the pan, then use the parchment overhang to lift the whole block out onto a cutting board. A sharp, warm knife makes the cleanest cuts, so wipe it between each slice if you're feeling fancy.
 Pin This
 I learned the hard way that the difference between a good brownie and a transcendent one is about 30 seconds of patience. One night I pulled them out too early because I was impatient, and they were almost soup in the middle—but somehow, after a night in the fridge, they became the most decadent things I'd ever eaten. That mistake taught me that brownies often taste better after a rest.
The Secret to Crackly Tops
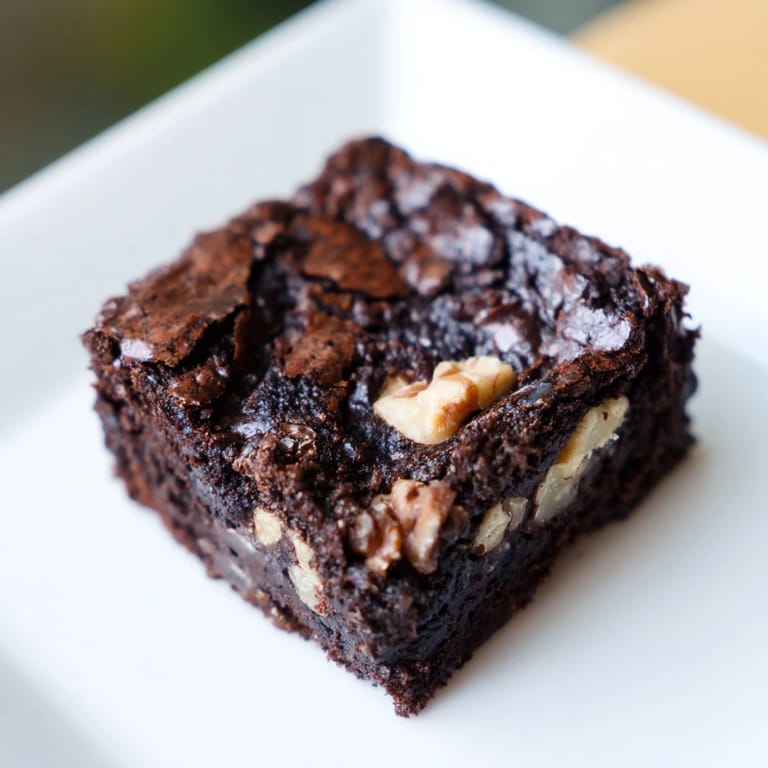
Those gorgeous cracks on top happen because the edges set quickly in the heat while the center is still slightly liquid, creating stress in the surface that breaks apart into those beautiful lines. Using room-temperature eggs and not overbeating the batter helps the top crack more dramatically, which is purely cosmetic but feels like winning a small kitchen victory every single time.
Flavor Variations That Actually Work
Once you've made these once or twice and they feel second-nature, you can start playing around. A teaspoon of espresso powder brings out the chocolate even more, dried cherries swap in beautifully for nuts, and a tiny pinch of cayenne pepper creates an addictive subtle heat that nobody can quite identify but everyone keeps eating. The structure of the recipe is flexible enough to handle these changes without falling apart, which is part of why it's become my go-to base.
Serving and Storage Wisdom
These brownies taste best within a day or two of baking, but they'll keep in an airtight container for up to five days if you can resist them that long. Warm them gently for 10 seconds in the microwave and serve with vanilla ice cream, or eat them at room temperature with strong coffee—both approaches are equally valid and equally delicious. The beauty of a good brownie is that it needs nothing but itself to feel like an occasion.
- Keep a piece in the freezer for those moments when only chocolate will do—it defrosts beautifully and tastes fudgy all over again.
- Make these the day before a gathering so you're free to spend time with people instead of hovering over the oven.
- If the edges brown faster than the center, tent the pan loosely with foil after 15 minutes to slow them down.
 Pin This
 These brownies have become my default gift, my stress reliever, and the thing I bake when I want my kitchen to smell like home. There's something about the ritual of melting chocolate and folding batter that centers me, and the result is always something worth sharing.
Recipe FAQ
- → How can I achieve a fudgier texture?
Underbaking slightly and chilling the chocolate squares before slicing enhances fudginess and a moist interior.
- → Can I substitute nuts in the mix?
Yes, you can replace nuts with dried fruit or omit them altogether for a nut-free variation.
- → What type of chocolate works best?
Semi-sweet chocolate provides balanced sweetness and richness ideal for these chocolate squares.
- → Why fold ingredients gently when mixing?
Folding gently avoids overmixing, which can cause toughness and reduce the desired dense, tender texture.
- → How do I know when they are perfectly baked?
Insert a toothpick in the center; a few moist crumbs sticking indicate the squares are done without being overbaked.