 Pin This
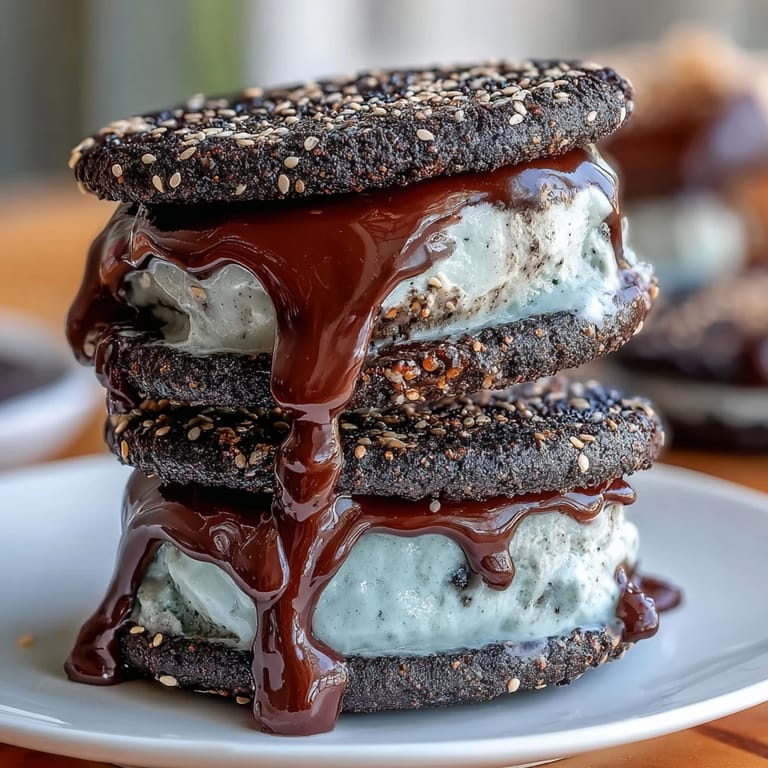
 My friend brought a box of black sesame ice cream from a small Tokyo shop during one of those sweltering August afternoons, and I couldn't stop thinking about the deep, almost earthy flavor for weeks afterward. There's something about black sesame that feels both sophisticated and comforting at once—nutty without being heavy, elegant without trying too hard. I became obsessed with recreating it at home, and then the obvious next step was turning it into something you could hold in your hands and bite into. These sandwiches became my answer to that craving.
I made these for a dinner party where someone casually mentioned never having tried black sesame before, and watching their face light up after that first bite was worth every minute of churning and baking. My kitchen smelled like toasted sesame seeds for three days straight, and honestly, I didn't mind one bit—it's the kind of scent that lingers in a good way.
Ingredients
- Whole milk: This creates a silky base for the custard; don't skip it even though it's tempting to use all cream.
- Heavy cream: The richness you're after, and it keeps the ice cream from becoming icy when frozen.
- Granulated sugar: Besides sweetness, it actually changes the freezing point of your ice cream, making it scoopable straight from the freezer.
- Egg yolks: These thicken the custard and make everything incredibly creamy—they're non-negotiable, and yes, they're safe when cooked to 170°F.
- Black sesame paste: The star ingredient with a deep, slightly bitter undertone; buy the unsweetened kind or you'll end up with overly sweet ice cream.
- Vanilla extract: Just a whisper to balance the earthiness of the sesame.
- Salt: A tiny pinch that somehow makes the black sesame flavor punch harder.
- All-purpose flour: Standard cookie structure; make sure it's not expired or your cookies won't have proper lift.
- Black sesame seeds: Buy them whole and toasted if you can find them, then grind them yourself—pre-ground loses its aroma faster than you'd think.
- Baking soda: What gives the cookies that chewy-edged texture instead of crispy-all-the-way-through.
- Unsalted butter: You control the salt level this way, which matters when working with such delicate flavors.
- Egg: Just one to bind the cookie dough and add structure without making them cakey.
Tired of Takeout? 🥡
Get 10 meals you can make faster than delivery arrives. Seriously.
One email. No spam. Unsubscribe anytime.
Instructions
- Heat your cream and milk gently:
- Pour them into a saucepan and watch for wisps of steam rising from the surface—you're not boiling, just heating until it's almost too hot to touch comfortably. This tempers your egg yolks when you add it slowly and keeps the custard silky.
- Whisk the yolks and sugar until they transform:
- This pale, thick mixture is your insurance against scrambled eggs; it takes about two minutes of whisking and your arm will know it's working when the mixture becomes noticeably lighter. This step actually matters more than people think.
- Stream in the hot cream while whisking constantly:
- Go slow here—pouring too fast is how you end up with sweet scrambled eggs in your ice cream. It feels fussy but it's genuinely the moment everything comes together.
- Cook your custard until it coats a spoon:
- When you dip a spoon in and run your finger across the back, the mixture should leave a clear trail. If you have a thermometer, aim for exactly 170°F (77°C) to be completely safe, which is actually below boiling so there's a comfort in that.
- Whisk in the sesame magic:
- The paste swirls in beautifully if it's at room temperature; if it's cold, you'll be fighting little sesame lumps. A few seconds of vigorous whisking and it becomes one cohesive, dark, fragrant custard.
- Strain everything through fine mesh:
- This catches any cooked egg bits and gives you the silkiest texture possible. It feels unnecessary until you taste the difference.
- Chill thoroughly before churning:
- At least two hours in the refrigerator—rushing this step means your ice cream maker has to work harder and you'll get icier results. I usually chill overnight because patience pays off here.
- Churn according to your machine's rhythm:
- Follow what your ice cream maker tells you, but watch for when it goes from liquid to soft-serve consistency. Then transfer to a freezer-safe container and freeze until firm, usually three to four hours.
- Make your cookie dough:
- Cream the butter and sugar until it's almost cloud-like, then beat in the egg and vanilla. The texture should be noticeably lighter and fluffier than when you started.
- Fold in the dry ingredients gently:
- Mix just until combined—overworking develops gluten and makes cookies tough, which is the opposite of what you want here.
- Scoop and slightly flatten:
- Tablespoon-sized balls work perfectly; use an ice cream scoop if you have one to keep them consistent. Flatten them just a touch so they bake evenly.
- Watch them bake until edges set:
- At 10–12 minutes, the edges should look slightly firm while the center still has a tiny bit of give. They'll firm up as they cool, and that's when you get the chewy middle you're after.
- Cool the cookies completely:
- Don't rush this or the ice cream will melt before you even assemble them. I usually let them sit on the baking sheet for five minutes, then move them to a wire rack.
- Match and assemble your sandwiches:
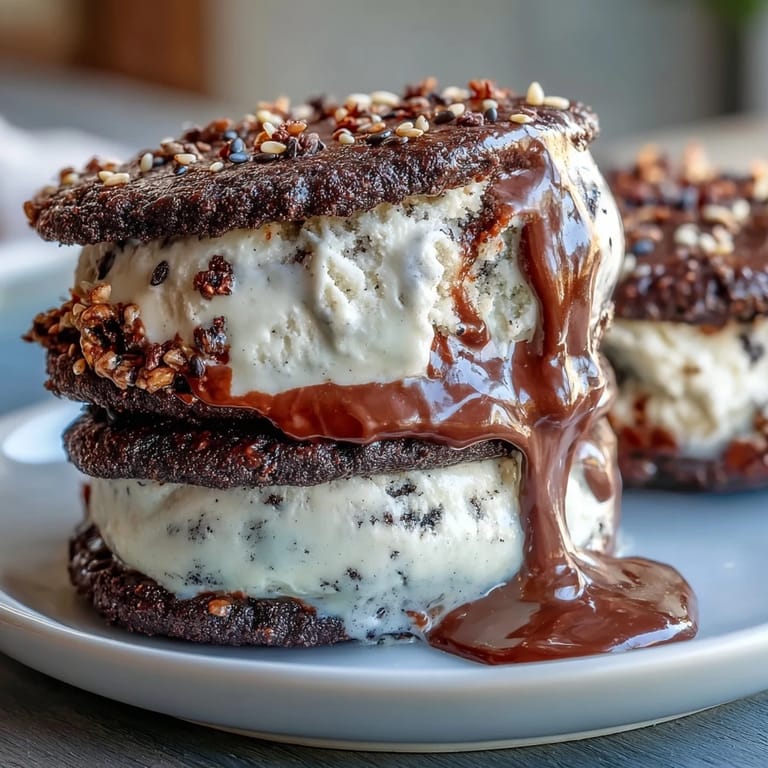
- Pick cookie pairs that are similar in size so the ice cream doesn't squeeze out the sides unevenly. A scoop of ice cream on one flat side, pressed gently with the other cookie—you want the ice cream to peek out just slightly.
- Wrap and refreeze:
- Parchment paper keeps them from sticking together; at least an hour in the freezer firms everything up perfectly. I've wrapped extras and frozen them for weeks with no issue.
 Pin This
 There was this moment when my sister took a bite and immediately asked me to make them for her wedding—not as a catering thing, just for her own enjoyment in the weeks before. That's when I realized these had stopped being just a recipe and become something that meant something to people I loved.
The Depth of Black Sesame
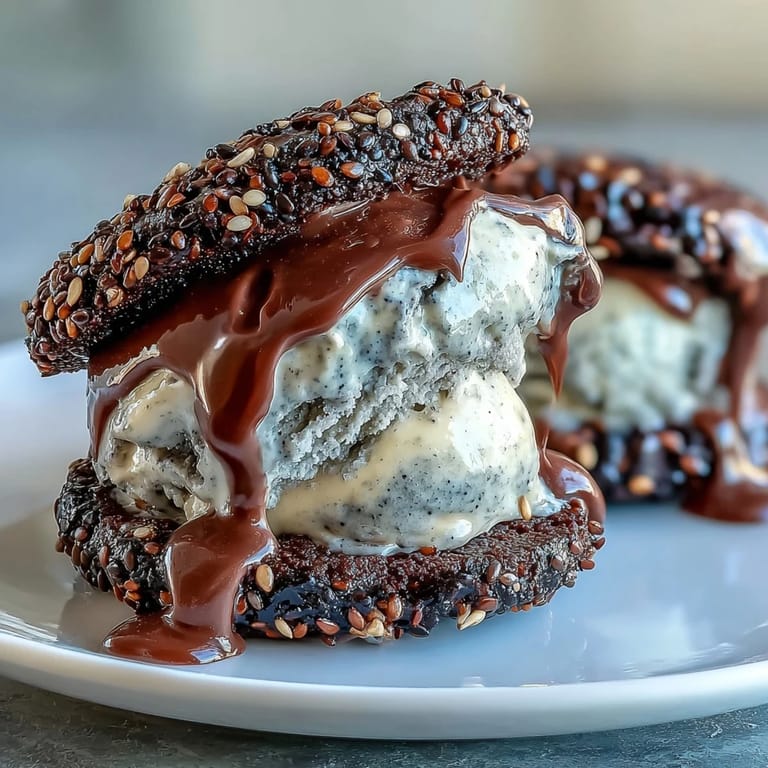
Black sesame tastes nothing like regular sesame; it's darker, earthier, with this subtle bitterness that feels sophisticated rather than off-putting. The first time I used it, I was genuinely surprised by how it didn't taste sweet or even particularly nutty—it tastes almost mineral, like you're eating something ancient and grounding. This is why it pairs so well with something creamy; the richness softens those deeper notes and creates this perfect balance where neither flavor overwhelms the other. If you've only ever had regular sesame, this will feel like discovering a completely different ingredient.
Why Homemade Ice Cream Matters Here
Store-bought ice cream works fine if you're in a rush, but homemade custard-based ice cream has this velvety texture that commercial versions simply can't replicate, probably because they cut corners with stabilizers and gums. When you make your own, you control the fat content, the sweetness level, and you get to taste the exact moment when sesame becomes creamy instead of pasty. Plus there's something deeply satisfying about knowing exactly what went into every spoonful—no mysterious additives, just cream, eggs, sugar, and black sesame doing their thing together. Your ice cream maker becomes your best friend during this process, and honestly, making ice cream cream is one of those kitchen projects that feels fancier than it actually is.
Assembly and Storage Secrets
These sandwiches are actually more forgiving than they seem—ice cream sandwiches are meant to be slightly melty and soft, not rigid, so don't stress about them being perfect. The parchment paper wrapping keeps them from sticking to each other and honestly makes them look a bit fancy just sitting in your freezer. You can keep them frozen for up to two weeks, which means you can make them ahead for parties or just have them waiting for an emergency dessert moment.
- Roll the edges in extra toasted black sesame seeds right after assembling for extra crunch and visual drama.
- If your ice cream is too soft to scoop, let it freeze another hour—trying to assemble with melty ice cream is a lesson learned the messy way.
- Serve them straight from the freezer with green tea on the side to cut through the richness perfectly.
 Pin This
 These ice cream sandwiches have become my go-to when someone says they want something that tastes different, looks impressive, and feels like a treat. They're the kind of dessert that makes people pause and actually pay attention to what they're eating, which is exactly what food should do.
Recipe FAQ
- → How do I ensure the black sesame paste blends smoothly?
Warm the milk and cream mixture before adding the black sesame paste and whisk thoroughly to achieve a smooth consistency without lumps.
- → What’s the best method to toast and grind black sesame seeds?
Toast seeds in a dry pan over medium heat until fragrant, then grind them using a spice grinder or mortar and pestle for optimal flavor release.
- → Can I substitute ingredients to make it vegan?
While this version contains eggs and dairy, plant-based milks and egg replacers can be used, but texture and richness might differ.
- → How long should the ice cream mixture chill before churning?
Chill the mixture for at least 2 hours in the refrigerator to ensure proper setting and flavor development before churning.
- → Any tips for shaping the cookies evenly?
Scoop tablespoon-sized dough balls and flatten gently before baking to maintain consistent thickness and even baking.
- → What’s the ideal freezing time after assembling the sandwiches?
Freeze assembled sandwiches for at least 1 hour to allow the ice cream to firm up and flavors to meld.