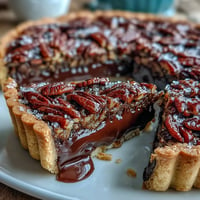
 Pin This
 My friend texted me a photo of a candy shop window at midnight, asking if I could somehow recreate what she'd seen: peanut butter cups hiding something unexpected inside. That sparked the idea to stuff them with eggless cookie dough, and the first batch disappeared before anyone else in the kitchen realized what was happening. These aren't delicate confections—they're bold, a little messy, utterly indulgent, and somehow taste like someone figured out how to trap two desserts in a single bite.
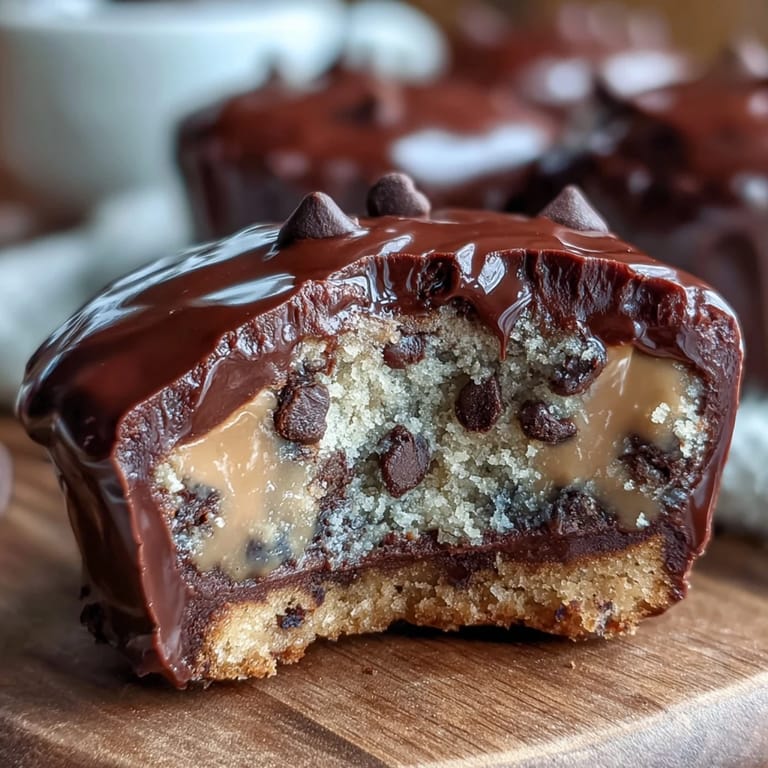
I made these for my sister's book club, thinking they'd be a nice addition to the spread. Instead, everyone went quiet when they bit into one, then immediately wanted the recipe and started debating which layer was their favorite. That's the moment I realized these weren't just candy—they'd become the kind of thing people remember.
Ingredients
- Unsalted butter (1/4 cup softened, plus 2 tbsp melted): Softened butter creams beautifully with sugar for the dough; melted butter keeps the peanut butter layer smooth and spreadable without the dryness.
- Light brown sugar and granulated sugar (1/4 cup plus 2 tbsp): The combination gives the cookie dough that complex sweetness and slight chewiness you'd get from a real cookie.
- Vanilla extract (1/2 tsp): A small amount goes a long way; don't skip it, as it's what makes the dough taste like an actual cookie and not just sweet flour.
- Milk (1 tbsp): This binds the dough and keeps it tender rather than crumbly—use what you have on hand.
- All-purpose flour, heat-treated (1/2 cup): Heat-treating kills any bacteria so you can eat raw dough safely; microwave for 1 minute with stirring, or bake at 350°F for 5 minutes, then cool completely before using.
- Salt (1/4 tsp for dough, pinch for peanut butter layer): Salt doesn't just season—it enhances chocolate and peanut flavor so everything tastes rounder.
- Mini chocolate chips (1/3 cup): Mini chips distribute more evenly through the dough than regular ones, and you get little pockets of chocolate in every bite.
- Creamy peanut butter (1/2 cup): Use natural or conventional peanut butter, but avoid the oil-separated kind for this application—it can make the layer greasy.
- Powdered sugar (1/4 cup): This sweetens the peanut butter layer and lightens the texture slightly compared to eating straight peanut butter.
- Semisweet or milk chocolate chips (2 cups): Semisweet leans slightly bitter and sophisticated; milk chocolate is sweeter and mellower—choose based on your mood and how sweet you like things.
- Coconut oil or vegetable oil (2 tsp): Oil thins the chocolate just enough to coat smoothly without making it grainy or too thin.
Tired of Takeout? 🥡
Get 10 meals you can make faster than delivery arrives. Seriously.
One email. No spam. Unsubscribe anytime.
Instructions
- Prepare Your Ingredients and Heat-Treat the Flour:
- If you haven't already, heat-treat your flour by microwaving it for 1 minute with a stir halfway through, or bake it at 350°F for 5 minutes, then let it cool completely. This step matters because you'll be eating the dough raw.
- Cream the Butter and Sugars:
- In a medium bowl, beat the softened butter with brown sugar and granulated sugar until the mixture looks pale and fluffy, about 2 minutes. This incorporation of air makes the dough tender.
- Add Wet Ingredients:
- Mix in vanilla extract and milk until combined. The mixture should look smooth and slightly creamy.
- Fold in Flour and Salt:
- Add the cooled, heat-treated flour and salt, stirring gently until just combined. Overmixing develops gluten and makes the dough tough.
- Add the Chocolate Chips:
- Fold in the mini chocolate chips carefully. Chill this dough in the fridge while you prepare the chocolate base.
- Line and Prepare the Muffin Tin:
- Place paper liners in a 12-cup muffin tin. Paper liners prevent sticking and make removal clean.
- Melt the Chocolate:
- Combine chocolate chips and coconut oil in a microwave-safe bowl. Microwave in 30-second bursts, stirring between each burst, until smooth and pourable. Stirring prevents scorching.
- Create the Chocolate Base Layer:
- Spoon about 1 tablespoon of melted chocolate into each liner, then gently tilt or tap the pan so the chocolate coats the bottom evenly. Freeze for 10 minutes until firm.
- Mix the Peanut Butter Layer:
- While the chocolate sets, combine peanut butter, melted butter, powdered sugar, and a pinch of salt in a bowl, stirring until smooth and spreadable. Taste and adjust sweetness if needed.
- Layer the Peanut Butter:
- Remove the muffin tin from the freezer. Drop a heaping teaspoon of peanut butter mixture onto the set chocolate in each cup, then use the back of a spoon to flatten it slightly into an even layer.
- Add the Cookie Dough:
- Scoop about 1 teaspoon of chilled cookie dough and gently press it onto the peanut butter layer in each cup. Don't compress too hard—you want it to stay tender.
- Seal with Chocolate:
- Spoon or pipe the remaining melted chocolate over each cup, covering the fillings completely and smoothing the tops with the back of a spoon. The chocolate should reach the edges of the liner.
- Final Chill:
- Refrigerate for at least 20 minutes or freeze for faster setting. Once firm, peel away the liners and store in an airtight container in the fridge for up to 2 weeks.
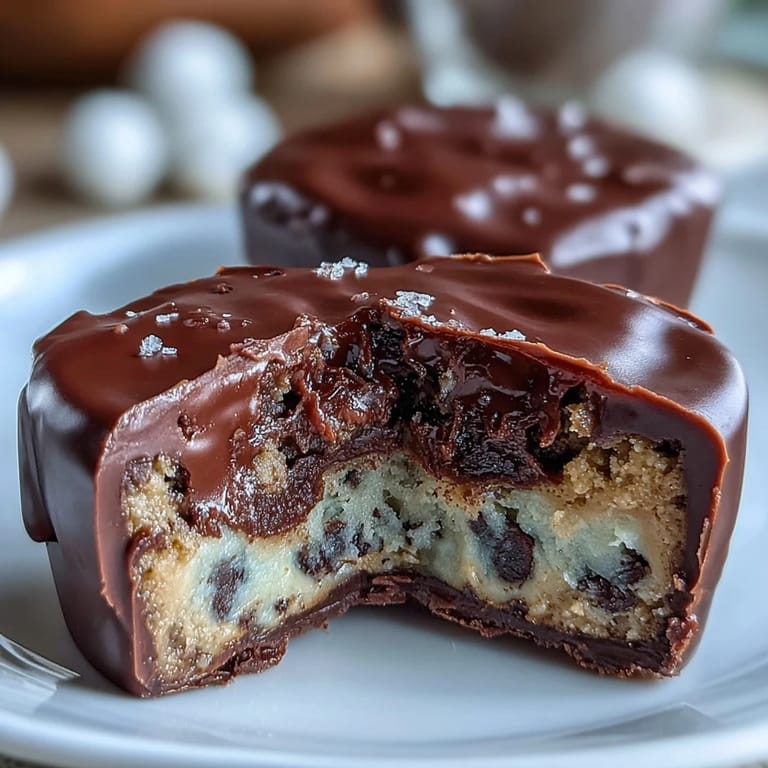
 Pin This
 Last summer I brought a box of these to a potluck where someone had also brought homemade candy, and I almost didn't show up because I thought mine would pale in comparison. But standing there watching people light up when they bit into the cookie dough center taught me that homemade doesn't need to look bakery-perfect to feel luxurious.
Flavor Combinations to Try
Once you nail the basic version, these cups become a playground for flavor experimentation. Swap the vanilla for almond extract in the cookie dough, or add a pinch of espresso powder to deepen the chocolate flavor and make it taste almost sophisticated. Some mornings I've sprinkled flaky sea salt on top of the final chocolate layer right before it sets, which sounds strange until you taste how it stops the sweetness from coating your mouth.
Storage and Make-Ahead Tips
These keep beautifully in the refrigerator for up to two weeks if stored in an airtight container, and they freeze for up to a month. I like to make a batch on a Sunday and portion them out through the week, grabbing one when the afternoon slump hits. Cold chocolate is technically superior anyway—it snaps when you bite into it rather than just melting away.
Troubleshooting and Adjustments
If your peanut butter layer feels too firm and crumbly, you likely need a touch more melted butter to bind it; add an extra tablespoon and remix. If the chocolate coating doesn't set smoothly and develops a speckled, grainy surface, the chocolate either got too hot or cooled too quickly—stick to 30-second microwave bursts and be patient.
- For a richer taste, use dark chocolate instead of semisweet, or sprinkle coarse sea salt on top before the final chill.
- If you're avoiding dairy, substitute almond or oat milk for regular milk, and use dairy-free chocolate chips and peanut butter.
- Make sure to heat-treat the flour thoroughly; underbaking it leaves food safety concerns, while overdoing it makes it taste slightly burnt.
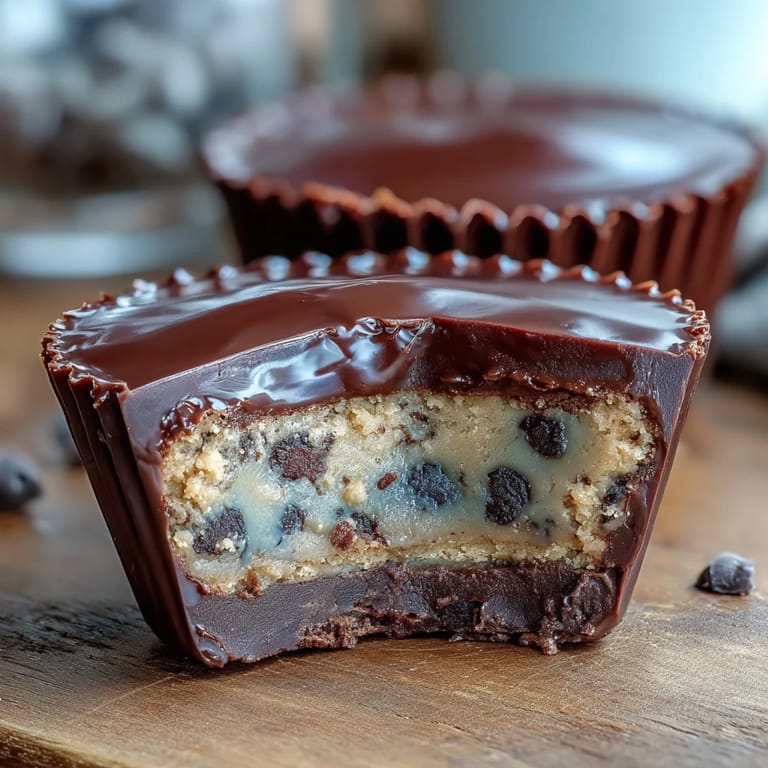
 Pin This
 These peanut butter cups prove that the best homemade candy isn't about complicated techniques or precious ingredients—it's about the small joy of biting into something you made yourself, knowing exactly what's inside. Make them for someone you care about, or keep them entirely for yourself.
Recipe FAQ
- → How is the cookie dough made safe to eat?
The flour is heat-treated by microwaving or baking to eliminate harmful bacteria, making the cookie dough safe to enjoy without baking.
- → Can I use a dairy-free milk substitute?
Yes, almond or oat milk can replace regular milk for a dairy-free variation without altering texture.
- → What type of chocolate works best for coating?
Semisweet or milk chocolate chips melt smoothly and taste great, but dark chocolate can be used for a richer flavor.
- → How long should the cups chill to set properly?
After assembly, chilling the cups for at least 20 minutes in the fridge or freezer allows the chocolate and layers to firm up effectively.
- → Can I add any toppings before chilling?
Yes, a sprinkle of flaky sea salt on top enhances flavor and adds a nice finishing touch before chilling.